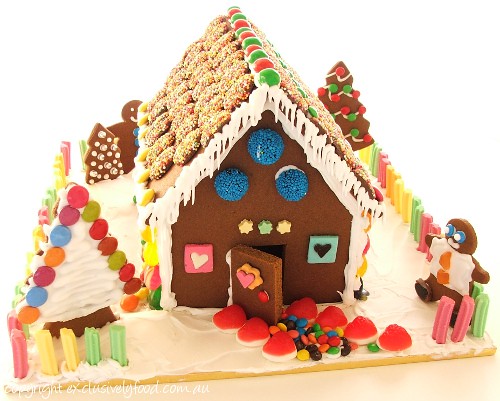

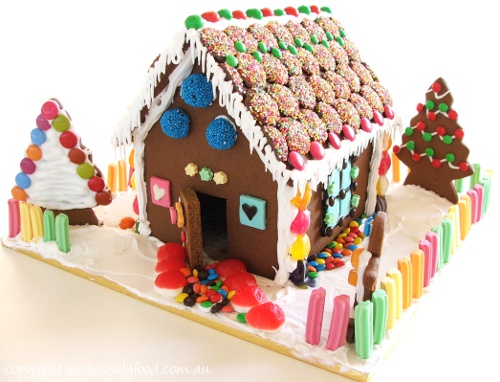
As the base for our house, we used a sturdy, foil-covered square cake board measuring 35cm by 35cm by 0.5cm.
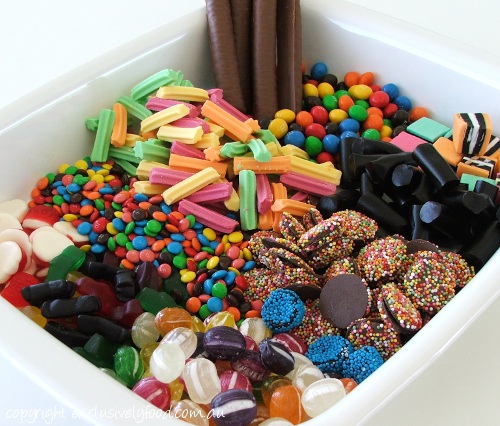
Use your favourite types of lollies to decorate the house. We used Freckles (chocolate buttons topped with sprinkles), licorice allsorts, boiled lollies, Crispy M&M’s, licorice, M&M’s MINIs, small musk sticks, chocolate coated licorice, Smarties, and assorted jelly lollies.
We used a cardboard template when cutting the dough. Click here to download our PDF pattern. Print the pattern at actual size (don't scale or shrink to fit paper). When printed, the actual dimensions of the shapes should match the dimensions stated.
You will need two gingerbread end wall panels, two side wall panels and two roof panels. The remaining dough can be used to make trees, snowmen, gingerbread people etc.
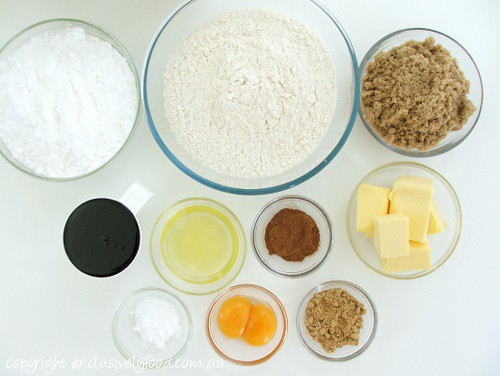
For accuracy, we use digital scales to weigh ingredients. We have included volume measurements in Australian Standard cups (250ml) and spoons (20ml tablespoon, 5ml teaspoon). We use large eggs with a minimum weight of 59 grams.
750g (5 cups) plain flour
2 teaspoons (11g) bicarbonate of soda (baking soda)
1 tablespoon (9g) mixed spice (ground spice mixture consisting of cinnamon, allspice and nutmeg)
1 1/2 tablespoons (14g) ground ginger
250g butter, softened (if using unsalted butter, add 1/4 teaspoon fine table salt with the butter)
260g (1 cup plus 2 tablespoons, very firmly packed) brown sugar
273g (187ml or 3/4 cup) treacle
2 large egg yolks
3 large egg whites (about 100g egg white in total)
630g (4 1/2 cups) icing sugar, sifted
Assorted lollies, to decorate
Using the pattern provided, cut one side panel, one end panel, one roof panel and one door from cardboard (we used a cereal box). Cover one side of each cardboard shape with aluminium foil.
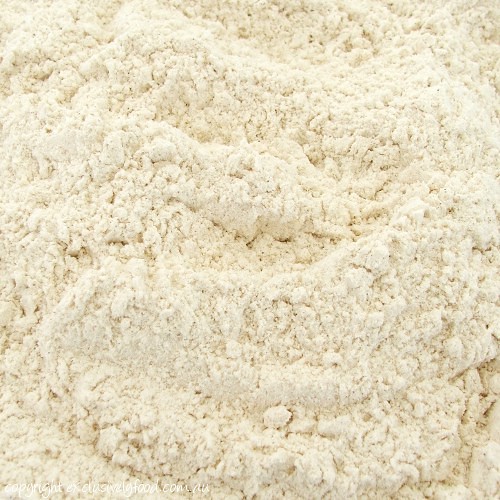
Into a large bowl, sift flour, bicarbonate of soda, mixed spice and ginger to remove any lumps. Stir together to thoroughly combine and set aside until required.
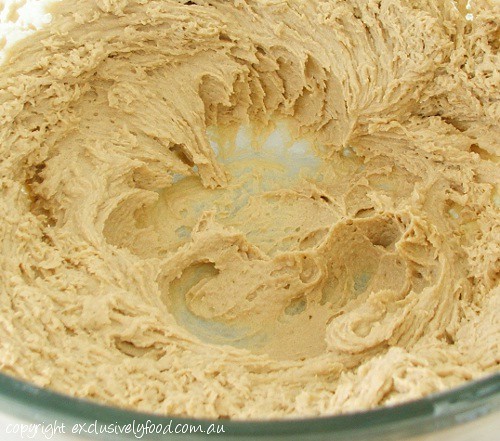
Using an electric mixer or electric hand-held beaters, beat butter and brown sugar together in a large bowl. Stop the machine occasionally and use a spatula to scrape down the side and base of the bowl. Beat until the butter and sugar are well combined and the mixture is creamy (about three minutes).
To the butter mixture, add the treacle and egg yolks. Beat for about one minute, until the ingredients are well combined.
Using a spoon, your hands, or the electric mixer/beaters on very low speed, incorporate the flour mixture into the butter mixture, stopping as soon as the ingredients are combined.
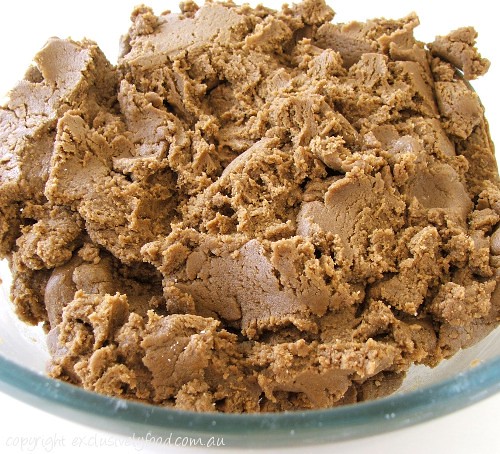
Divide the dough into three portions and wrap each portion in plastic wrap. Place in the refrigerator for about 2-3 hours, until firm.
Preheat oven to 180 degrees Celsius (160 degrees Celsius fan-forced). Adjust the oven rack to the middle of the oven (not necessary if using a fan-forced oven or baking more than one tray of gingerbread at one time).
Line a large baking tray with baking paper. The base of the baking tray should be flat (not rounded or warped) so the gingerbread shapes bake flat and fit together well when the house is assembled.
Unwrap one portion of dough (leave remaining portions in refrigerator), place between two large sheets of baking paper and roll out to about 5-6mm thick. Remove the top piece of baking paper. Place some of the house templates (except the door) on the dough, and using a sharp knife, cut around the templates.
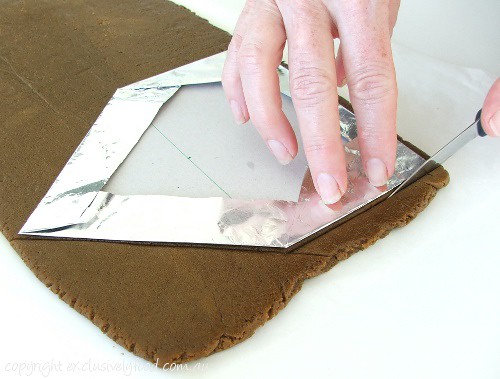
Remove the excess dough from around the outside of the shapes. Form the offcuts into a log, re-wrap in plastic wrap and return to the refrigerator.
Leave shapes in place on baking paper and transfer to a large flat tray or chopping board so the shapes will stay flat while freezing. Place in the freezer for about 15 minutes, until the dough is very hard when pressed.
Peel dough shapes off baking paper and transfer shapes to the lined baking tray, placing at least 2cm apart.
We recommend baking the gingerbread house shapes one tray at a time. If you wish to bake more than one tray at a time, you may need to extend the baking time and swap the positions of the trays halfway through for more even baking. Bake the house pieces for about 20 minutes, until the gingerbread is just firm (not hard) when lightly pressed in the centre. The gingerbread will become firmer on cooling.
While the shapes are baking, repeat the cutting process with the template and remaining dough.
As soon as the tray of gingerbread is removed from the oven, place the corresponding template piece on top of each shape and cut around the template to straighten the edges of the panels (be careful as the heat from the gingerbread will pass through the cardboard).
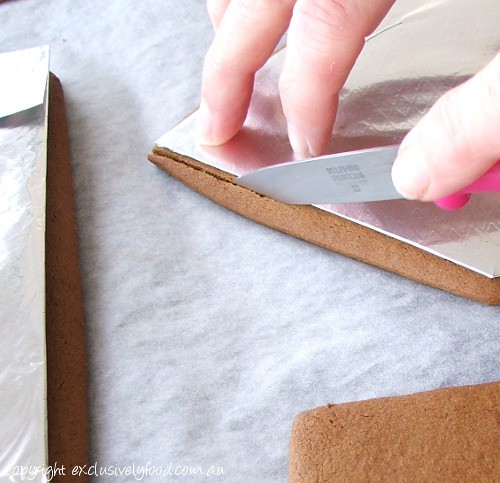

Use the door template to cut a door from one of the end house panels. This will be the front of the house.
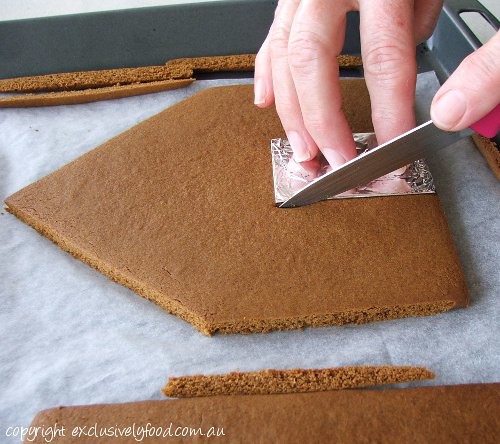
Place the house pieces on a rack or on baking paper on a flat surface so they cool in a flat shape (don't stack them on top of one another).
When you have all the necessary house pieces, roll out the remaining dough and cut out shapes to use when decorating the house. The smaller the shapes the shorter the baking time required. Our gingerbread man and tree took 12 minutes to cook.
When all the pieces have been cooked and have cooled completely, you can assemble the house. If you aren't assembling the house on the day of baking, store the gingerbread pieces flat in an airtight container until required.
Using an electric mixer or electric hand-held beaters, beat the egg whites in a large bowl until just frothy.
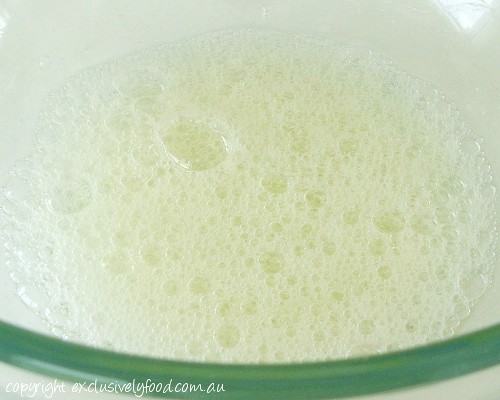
Gradually beat in sifted icing sugar, about 1/2 cup at a time. Stop the machine occasionally and use a spatula to scrape down the side and base of the bowl. Beat until all the icing sugar has been added. The icing should be thick and cling to the beaters when lifted.
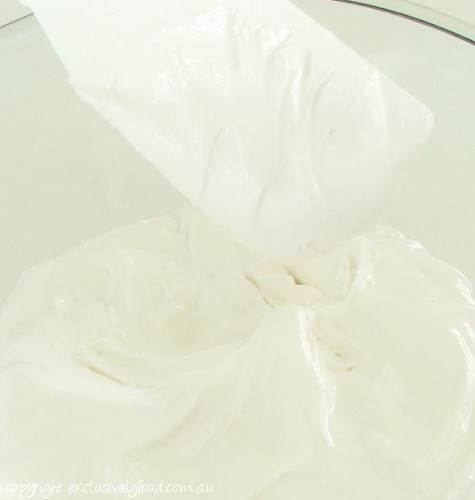
The icing can be thinned by adding water, a few drops at a time, or thickened by adding more sifted icing sugar. Keep the icing covered with a piece of plastic wrap pressed against the surface to prevent the icing drying out and forming a crust.
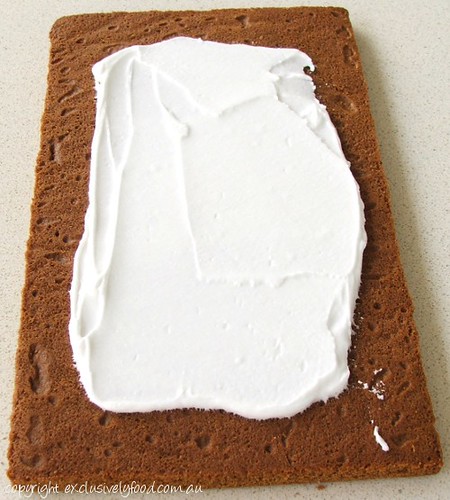
Spread a thin layer of icing over the underside of the roof panels, leaving a 2cm border uniced, and set aside to dry. This helps reinforce the roof.
Spoon the icing into a piping bag or plastic squeeze bottle fitted with a plain or star nozzle (approximately 5mm diameter) and pipe icing along the bottom edge of the front house panel. Be generous with the icing as it helps to provide strength to the house.
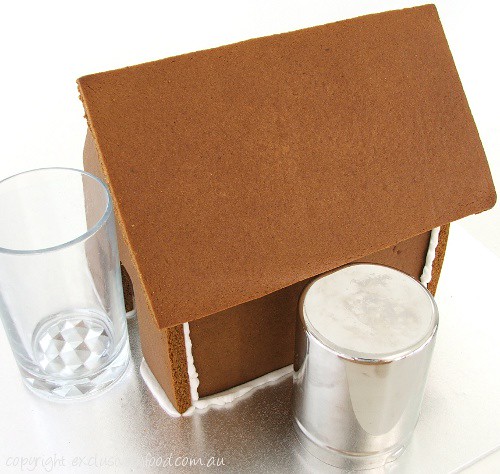
Stick the iced edge onto the board and hold in place for a few minutes until the icing starts to set. You can use a tumbler or cake tin to support the wall while the icing sets.

Pipe icing along the bottom edge and up one side edge of one side wall panel and stick to the back of the front panel.
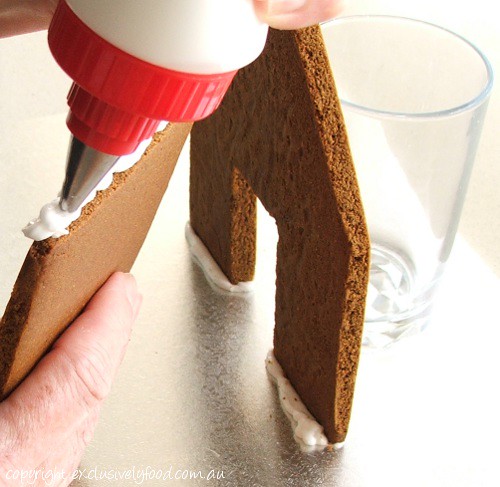
Repeat with the other side panel.
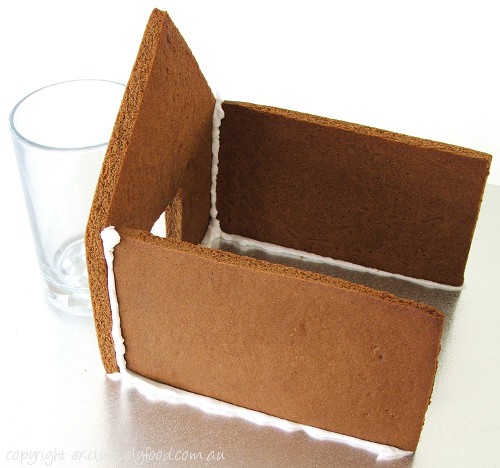
Pipe icing along the end edges of the two side panels and the bottom edge of the end panel and join together. Allow the icing to harden for about one hour before attaching the roof.
Pipe icing along the top edges of the walls and attach the roof panels. Hold the roof panels in place until the icing starts to set (you can place something under the edge of the roof for extra support).
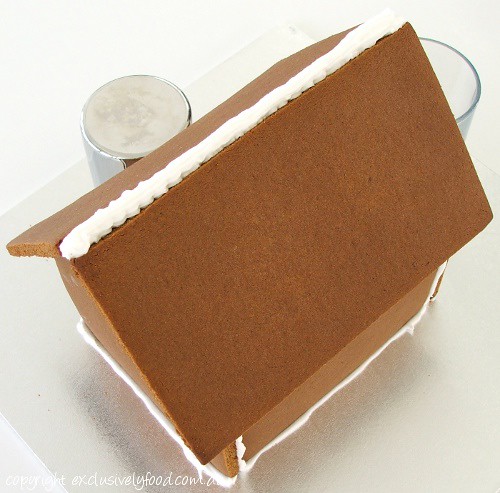
Pipe a line of icing along the top of the roof where the two panels meet.
Pipe icing along one long edge of the door and attach to the side of the doorway.
Using an offset spatula or the back of a spoon, spread a layer of icing over the board.
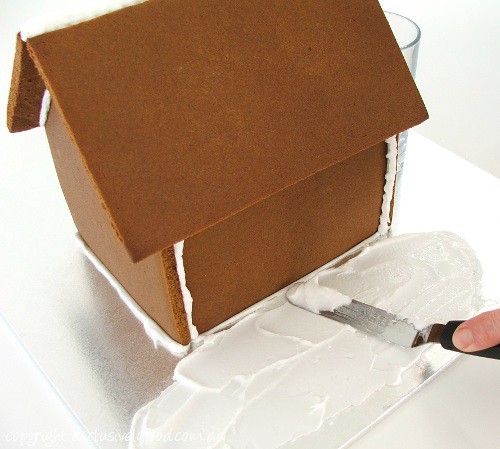
Leave the house for one hour to allow the icing to set before decorating.
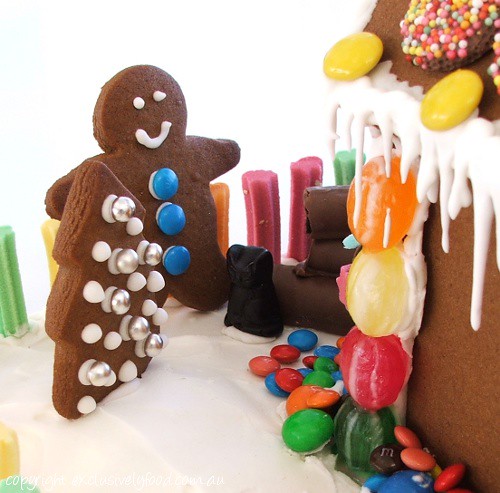
Use the remaining icing to decorate, and attach lollies to, the gingerbread and board.
To create icicles on the edge of the roof, you will need a bag or bottle fitted with a 2-3mm diameter plain tip. Thin the remaining icing with a small amount of water. At numerous points along the edge of the roof, begin piping and then use a pull down motion to create an icicle.
To help reduce the rate of softening, store the house in an airtight container, if possible, or carefully wrap in plastic wrap. House can be made and assembled up to five days before serving. © www.exclusivelyfood.com.au
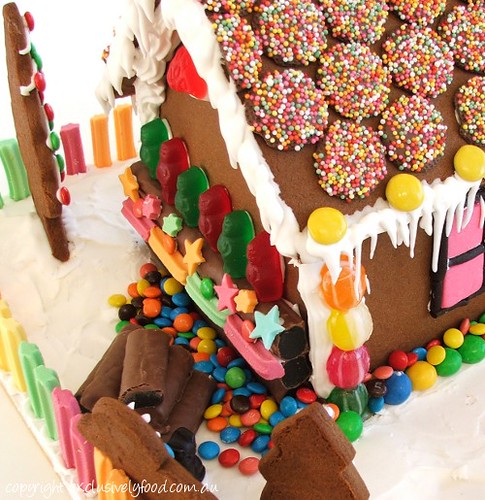
No matter what is on my blog as part of Christmas cooking, this is one of the most revered and beautiful looking gingerbread houses in the world. I have not seen a single one which could possibly match this.
ReplyDeleteHappy Holidays Amanda And Debbie
You are truly the most amazing baking and cooking artists I have ever had the privilage to learn from
Cheers
Choc Chip Uru
Oh yeah baby!
ReplyDeleteKids were just asking when are we making our house this year...seems to be a "tradition" after we made one last year. :)
We'll give this one a whirl...looks great and I LOVE your selection of lollies.
Sugar coma 2011 here we come!
Merry Christmas!
This has got to be the best Gingerbread house I've seen this year!!! It's so pretty with all the lollies over it and the colours are just amazing!!!
ReplyDeleteHow awesome and delicious! I am looking forward to making this gingerbread house asap!
ReplyDeletegorgeous! I agree that it is the best decorated gingerbread house that I have seen. Thank you so much for creating.
ReplyDeleteTruly wonderful. So very pretty and amazingly crafted. Good job.
ReplyDeleteIts beautiful! I love your photography,it makes following your recipes a breeze.
ReplyDeleteWowwwwwwwwwwwwwwwwwwwwwww Perfect!!!!
ReplyDelete:-D
****Merry Christmas***
The house is up! (and the gingerbread tastes great!) Tomorrow we'll decorate.
ReplyDeleteThanks so much for posting a great recipe with pictures.
The best gingerbread house I've seen so far. Awesome! Wishing you and your family a Merry Christmas and Happy Year 2012!
ReplyDeleteMade this today following your recipe, it was excellent! I love the illustration and my house turned out exactly like it did in the pictures. Not sure i want to eat it, my eyes now find it more delicious than my tongue probably would :-)
ReplyDeleteWow! Somehow you make this look so effortless, I'm going to try it next Xmas. Love your work.
ReplyDeleteMade this for the gang at work for Christmas, and it was absolutely divine. I see what you mean about reinforcing the roof as I could have been in a lot of trouble otherwise. The best part was shopping for the lollies to put around the house, and then decorating it.
ReplyDeleteVery clear instructions, worked just as described. Made a great birthday
ReplyDelete"cake" for a 4th birthday a few days after Christmas. Children all loved it!
It is a wonderful creation. You make your blog interesting and I will give you a thumbs up!
ReplyDeletewow! that is the best gingerbread house ive ever seen! i love the use of aussie-available lollies!!
ReplyDeleteis there any other type of biscuit that could be used instead of gingerbread to successfully make that house?
You give a new definition to 'playing with your food'!
ReplyDeleteExcellent...I love the way you have the photo's along with the recipe so you can compare that you have the same in your bowl. I think I have a little niece that can help me make that.
ReplyDeleteU're definitely an artist!! :-) I was looking for the gingerbread recipe since I found the imagine of the little man for the cookies.. and it's not esy to find it here.. thanks a lot and your house is gorgeous!
ReplyDeleteThat is so amazingggg......... I love it you are a super creative mind I just want to take it, not for eat but to keep it myself.
ReplyDeleteThank you for this great recipe! The house was gorgeous and lots of dough left for an army of gingerbread man. Really easy to follow and I'm so pleased with the results! I used molasses instead of treacle but the result was the same, I also decorated prior to assembly so that I could do it with the pieces flat on the bench. Thanks!
ReplyDeleteI am making the ginger bread house right this minute and so far it has turned out good! i love the idea of splitting the licorice all sorts! Thank you so much for the recipe! Merry Christmas :)
ReplyDeleteThis looks awesome and I look forward to trying it myself. I was just wondering once you have iced the house and When you are leaving the house to dry, do you leave it uncovered or do you cover it to preventthe gingerbread from drying out
ReplyDeleteMine seems to be very crumbely texture.. I've just put n the fridge to set hoping this helps but if not what can I add to moisten It up? I measured all correctly even weighed the eggs
ReplyDeleteThis year was my first attempt at gingerbread, let a lone a gingerbread house (2 of them to be exact). They both turned out perfectly!!! Thank you for the amazing recipe and the pictures were also a great help too!
ReplyDeleteMy family and friends were so impressed that they want to buy them off me next year :)
All the best
Would this recipe work if you were to use gluten free flour instead?
ReplyDeleteThanks for the fabulous recipe and instructions, I'm going to be attempting it tomorrow. Just wondering if golden syrup can be used or is treacle better?
ReplyDeleteFirst time ever made gingerbread, recipe was very easy to follow and result was sensational. My son and I had a ball making and decorating our house. Thanks very much and MERRY CHRISTMAS !!!
ReplyDeletemy friend and I decided we would make gingerbread houses this year for the first time....I found this recipe and it was awesome, turned out just like the pictures...make sure you allow yourself plenty of time....we are still eating it. yumm!
ReplyDelete